
Quick answer: train pressure control, not permanent tiptoes
Calf endurance in boxing is the ability to manage foot pressure repeatedly while the stance stays usable. It does not mean bouncing every second or holding both heels high until they burn. A beginner should be able to settle weight through the forefoot and heel as the task changes, keep the knees soft, and move without the ankles collapsing. Train that quality with controlled raises, bent-knee work, short stance holds, and low-intensity boxing steps.
Use two or three brief sessions a week, preferably after a warm-up and before fatigue ruins technique. Begin with body weight. Stop a set when range shortens, the feet roll outward, toes claw, knees wobble, or pain appears. Burning effort in the muscle can occur during an appropriate set; sharp pain, swelling, numbness, sudden weakness, or an altered gait is not a target. If you have an injury, circulation issue, neurological condition, or medical restriction, get individual guidance before loading the lower legs.
Why the lower legs burn during beginner rounds
New boxers often create their own calf problem by staying rigid. They lift both heels, squeeze the toes, lean forward, and treat “stay light” as “never let the feet settle.” That posture keeps the calf working without a useful change in demand. As breathing rises, the stance narrows and the ankles become springs that never unload. The boxer feels busy but cannot stop, punch, or change direction cleanly.
Efficient movement alternates tension and release. The rear heel may lift during a cross or step, then settle naturally as the stance resets. The lead foot remains available rather than glued to the toe. Quiet feet do not mean lazy feet; they mean pressure is directed for a reason. Before adding conditioning, ask a coach to check stance width and weight distribution. Sometimes the fastest improvement is not stronger calves. It is permission to stop hovering and let the skeleton share the load between actions.
Start with a simple capacity check
Stand beside a wall or ring post for light fingertip support. With feet about hip width, rise onto both forefeet over two seconds, pause briefly, and lower over two seconds. Complete ten smooth repetitions. Watch whether both heels rise evenly, the ankles stay stacked rather than rolling outward, and the toes remain relaxed. Next, hold a comfortable boxing stance for twenty seconds while breathing normally. Do not bounce. Notice whether the rear heel can settle and lift without the stance changing shape.
This is not a diagnostic or a competition. It is a baseline for coaching. If ten raises are easy and symmetrical, later sets can become longer before adding weight. If one side is painful, visibly weak, or difficult to control, do not mask it with faster repetitions. Tell the coach and seek qualified evaluation when appropriate. Write down the clean number, not the maximum. Your training target is the last technically sound repetition, because that is the capacity most likely to transfer to balanced movement.
A structured practice companion
The verified 30 Day Shadow Boxing Manual provides 30 no-equipment sessions. Use it to organize appropriate training days, never to override pain, fatigue, coaching, or medical advice.
Disclosure: This is a Downtown Boxing digital product. The promotional link supports the site.
Drill one: controlled straight-knee calf raises
Use a wall for balance and place the feet parallel. Rise through the base of the big toe and second toe without letting the ankle roll outward. Pause just below your highest comfortable position, then lower until the heel is fully controlled. Keep the knees soft rather than locked and the ribs stacked over the pelvis. Start with two sets of eight to twelve repetitions. Rest forty-five to seventy-five seconds so the next set can look the same.
Progress by adding repetitions up to fifteen, then consider a third set. Only after those steps remain controlled should a coach or qualified trainer consider single-leg or loaded versions. ACSM’s 2026 resistance-training update emphasizes that consistency and individualization matter more than complicated programming, and that body-weight work can be effective. That is useful here. The best variation is the one you can perform regularly without pain, cheating, or stealing recovery from boxing practice. Train the calf; do not turn every raise into a balance emergency.
Drill two: bent-knee raises for the stance
The soleus works strongly when the knee is bent, a position common in boxing. Stand with both hands lightly on a wall, bend the knees a few inches, and keep the torso tall. Without straightening the knees, raise both heels slowly, pause, and lower. The movement will be smaller than a straight-knee raise. Keep pressure across the forefoot and prevent the knees from collapsing inward. Begin with two sets of eight to twelve controlled repetitions.
Do not chase a deep squat. The goal is lower-leg control in a mild athletic bend. If the thighs dominate, reduce the bend. If balance limits the exercise, use more hand support so the calf receives the intended work. Add this after straight-knee raises or alternate the two across sessions. The combination trains the lower leg through different knee positions without needing machines. Review boxing stance endurance to connect the exercise with posture rather than treating it as isolated gym work.
Drill three: the quiet-feet boxing interval
Set a timer for twenty seconds of movement and forty seconds of rest. In stance, take short forward, back, left, and right steps at conversational effort. The foot closest to the direction moves first, and the other foot restores stance. Keep the head level, knees soft, and shoe noise low. Let the heels respond naturally instead of forcing them up. Complete six intervals. No punches are required in the first session.
When six intervals stay clean, add a relaxed jab after every second step. The jab should not make the feet freeze or spring higher. After two weeks, you may use thirty seconds of work and thirty seconds of rest, but do not increase interval length, speed, and weekly frequency together. MedlinePlus advises gradual progression and warns against changing multiple training variables at once. Place the drill within a coached plan using the class schedule, especially if other running, lifting, or field sports already load your calves.
Compare useful lower-leg drills
| Drill | Main purpose | Beginner dose |
|---|---|---|
| Straight-knee raise | General plantar-flexor strength and control | 2 sets of 8–12 |
| Bent-knee raise | Capacity in a boxing-like knee position | 2 sets of 8–12 |
| Quiet-feet interval | Transfer to stance and direction changes | 6 rounds of 20 seconds |
| Low pogo | Elastic reactivity after a solid base | Optional and coached |
A low pogo is not the starting point. Jumping adds impact and speed, and it should be pain-free, quiet, and appropriate for the athlete. Many beginners can improve without it. Choose the least complex drill that solves the problem. Calves that tolerate controlled raises and precise steps are more useful than calves exhausted by a dramatic circuit.
A three-week plan around boxing
In week one, perform straight-knee and bent-knee raises twice, separated by at least a day. Add quiet-feet intervals once. In week two, add one or two repetitions per set if every repetition remains controlled. In week three, keep the strength volume stable and lengthen only two movement intervals to thirty seconds. Boxing classes remain the priority; if footwork quality declines, reduce the accessory work rather than squeezing it into already tired legs.
Schedule the work after a general warm-up and away from your hardest sparring or conditioning day. Calf soreness can change how you absorb steps, so the session should not sabotage coached movement. Use the rest-day guide to protect recovery. ACSM’s updated position stand highlights regular resistance training for major muscle groups and notes that programs should be individualized. Your exact volume depends on training history, health, and the total work of the week.
Technique errors that waste endurance
Watch for five leaks. First, the feet become too narrow, so every correction is a balance task. Second, the boxer leans the shoulders ahead of the hips, forcing the calves to prevent a fall. Third, toes grip inside the shoe. Fourth, both heels remain lifted during pauses. Fifth, steps grow so large that the trailing foot must drag. Each leak increases effort without improving position. A coach can often remove the leak faster than another conditioning set can hide it.
Use video from the side only with gym permission. Look for a head that travels level and a rear heel that responds to movement rather than twitching constantly. Between combinations, let the body reorganize. Exhale instead of holding the breath. Wear shoes that fit and lace them securely, but do not expect equipment to correct mechanics. If fatigue is unusually one-sided, persistent, or associated with pain or swelling, stop self-testing and seek appropriate assessment.
Your calf-endurance checklist
- Warm up with easy walking and ankle movement.
- Use support so balance does not distort the exercise.
- Rise and lower under control.
- Keep pressure through the forefoot without rolling outward.
- Stop before range or alignment collapses.
- Train straight-knee and bent-knee positions.
- Transfer strength with short, quiet boxing steps.
- Increase one variable at a time.
- Protect boxing quality by reducing accessory volume when needed.
- Stop for sharp pain, swelling, numbness, or altered walking.
Track clean repetitions and quiet intervals, not suffering. If the same dose feels steadier after two weeks, the plan is working. If every session creates soreness that changes class technique, the dose is too high for the current schedule. Adjust with the coach.
Frequently asked questions
Should boxers stay on their toes? Stay responsive, not rigid. Pressure shifts across the foot and the heel may rise or settle according to the action. Why do my calves burn in one round? Stance tension, toe gripping, excess bouncing, conditioning, footwear, and training history can contribute. A coach should inspect movement. Are jump-rope rounds enough? Rope work can load the lower legs, but it does not replace controlled strength or stance practice for everyone.
Can I train calves every day? Beginners usually benefit from recovery between focused sessions. Total boxing and life activity matter. Should I stretch through pain? No. Gentle mobility may be appropriate, but painful or persistent symptoms deserve assessment. When can I add weight? After body-weight repetitions are controlled and repeatable, and when the added load fits the full week. What if one side is weaker? Do not hide the difference with speed; ask a qualified professional to guide progression.
Sources and practical next steps
This article draws on the ACSM 2026 resistance-training guidance, which favors consistent, individualized programs and recognizes body-weight and nontraditional resistance methods, plus the MedlinePlus exercise-injury guide on warm-up, form, rest, pain, and gradual progression. Neither source provides an individual diagnosis. Medical history, injury, medications, and symptoms can change what is appropriate.
Bring the clean-repetition baseline to Coach Ramon and ask whether calf work belongs before or after your current class load. Explore coached programs, check membership options, or contact Downtown Boxing. The aim is not legs that never tire. It is enough capacity to keep listening, seeing, and placing the feet when a round becomes demanding.
Warm up the feet without tiring them
Before focused lower-leg work, walk or cycle easily for five minutes, then make controlled ankle circles and several unweighted knee bends. Add ten quiet marching steps in boxing stance. The warm-up should increase temperature and remind the joints of the positions ahead. It should not create a calf pump before the first working set. Save jump rope for a separate dose when it already fits your program.
During the first set, use a smaller range and check alignment. The second set can use the full comfortable range. If the ankle feels stiff, do not bounce aggressively against it. Gentle movement may help, but persistent restriction or pain needs individual assessment. MedlinePlus recommends warming up and using proper form as part of injury prevention. A good warm-up improves the quality of information you get from the exercise; it does not guarantee that every symptom is safe.
Balance strength with ankle mobility
Strength and mobility are partners. The ankle needs enough motion for the knee to travel and the foot to stay connected during steps, while the lower leg needs strength to control that motion. Use a simple knee-to-wall drill only within a comfortable range: keep the heel down, point the knee toward the middle toes, and glide forward without the arch collapsing. Five slow repetitions per side are enough for a check.
Do not force the knee farther by rolling the foot inward. More range is not automatically better, and symmetry is not a universal requirement. Previous injuries and anatomy matter. Follow clinical guidance if you have restrictions. After the mobility check, repeat one stance step and notice whether it feels smoother; do not assume a change must occur. The objective is controlled access to your range, not stretching until the joint feels unstable or irritated.
What recovery looks like for the lower legs
After the session, return to ordinary walking and let breathing settle. Eat regular meals, drink according to your needs and conditions, and leave enough time before the next hard footwork day. Mild muscle soreness may occur when a new exercise is introduced, but the dose should not change your gait or force you to avoid stairs. If it does, reduce volume and discuss the response with the coach.
Shoes, floor surface, running, work shifts, and previous classes all contribute to lower-leg load. Record those factors when soreness surprises you. Do not stack extra skipping, sprints, and raises simply because each activity looks small alone. The body experiences the total. A sustainable program leaves the calves ready to support stance practice, not constantly recovering from accessory work. Persistent pain, swelling, weakness, or numbness belongs with a qualified health professional.
Gear that supports the work
The verified Downtown Boxing Wall Art five-poster bundle is a digital download with six sizes per design. Let visual cues support a routine, not replace practice or coaching.
Disclosure: This is a Downtown Boxing digital product. The promotional link supports the site.
Stay light by becoming more efficient
Useful calf endurance feels like options. You can settle, push, pivot, and step without being trapped on the toes. Build that freedom with slow raises, a bent-knee variation, and short movement intervals that preserve stance. Let strength support technique, then let technique reduce the amount of strength each step wastes. Both directions matter.
Progress patiently. A new boxer does not need a punishing lower-leg circuit, expensive equipment, or a heroic soreness story. You need repeatable alignment and a dose that leaves room for boxing. When the bell sounds late in class, aim for quiet shoes, level eyes, and a stance that still belongs to you. That is endurance you can use.
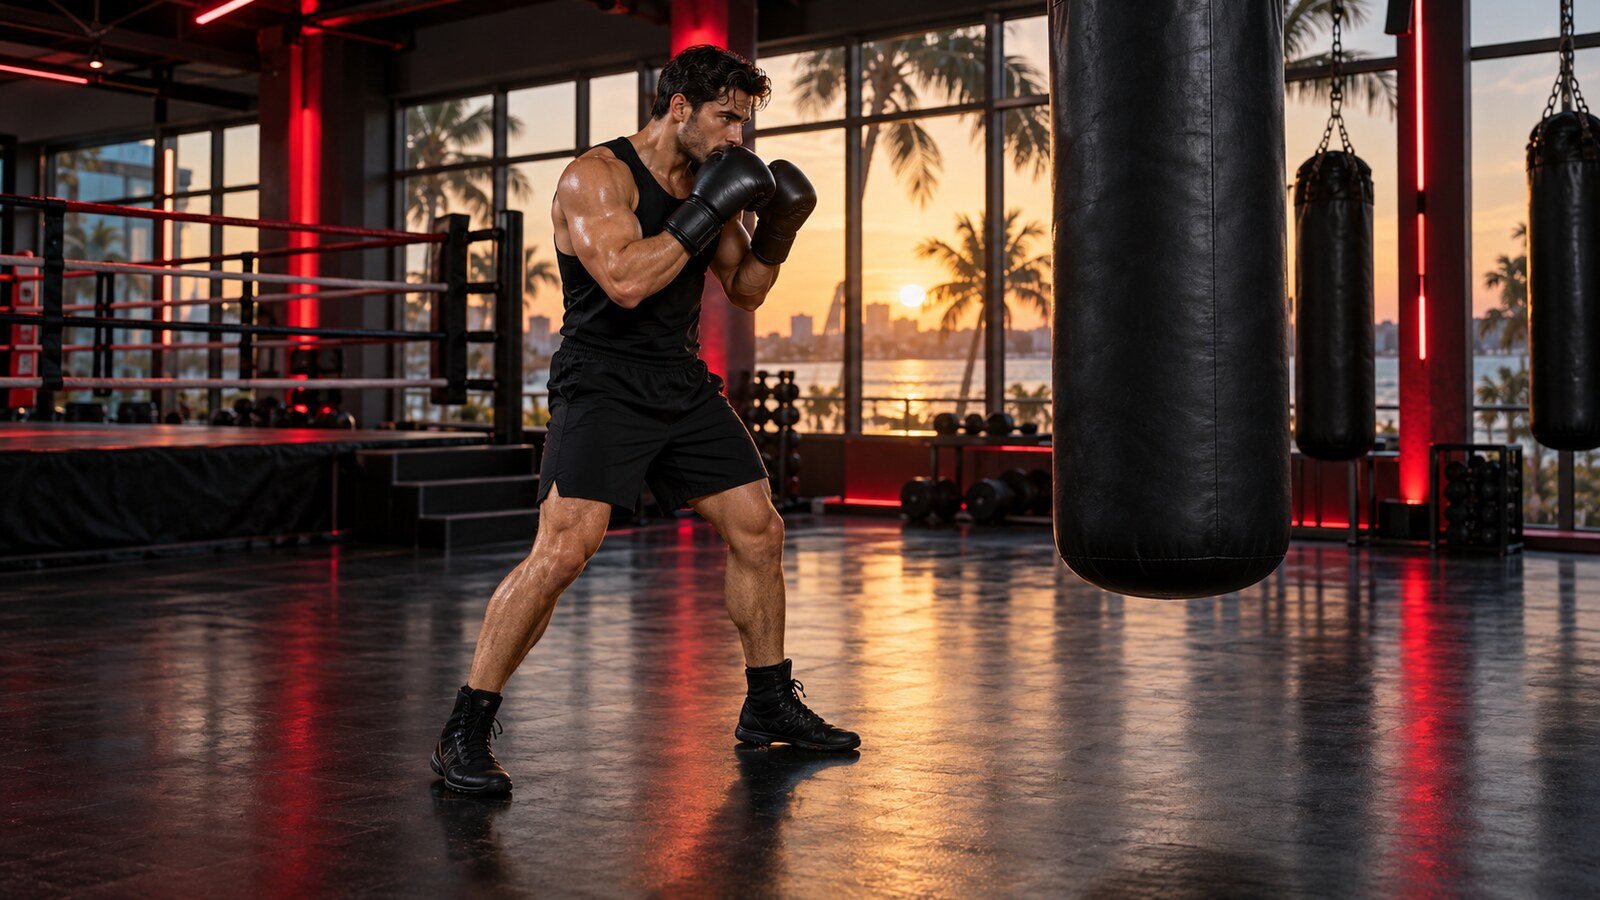
Editorial note: The hero is an original AI-generated image created for this article and reviewed for natural boxing anatomy. Exercise guidance was checked against the cited ACSM and MedlinePlus sources.